KubeLift getting started (Part 2): Installing WordPress and MariaDB via Helm.sh
Posted in Tutorials on December 14, 2022 by Stuart Preston ‐ 4 min read
This is the second of a three-part series to help you get started using KubeLift on the Azure platform. We love contrived examples of deploying workload on Kubernetes around here, so let’s walk through a complete scenario with KubeLift, WordPress and MariaDB deployed by Helm and an example of observing ingress and pod networking traffic using Cilium’s Hubble tooling.
- Part 1: Launching KubeLift Solo via the Azure CLI ✨
- Part 2: Installing WordPress and Maria DB via Helm.sh 🌍 *** YOU ARE HERE ***
- Part 3: Observing ingress and pod-to-pod traffic using Cilium Hubble 🚀
Prerequisites:
- Completed the steps in Part 1
Installing WordPress and Maria DB via Helm
As you saw in Part 1: Launching KubeLift Solo via the Azure CLI - KubeLift Solo spins up quite quickly (usually in under three minutes to a fully configured environment). We’re going to build on this environment by deploying WordPress and MariaDB via the dominant package manager for Kubernetes, Helm. So let’s get started.
First of all, we need to ensure we have Helm installed on our client system:
helm version
This should return the Helm version (>3 is required)
version.BuildInfo{Version:"v3.10.1", GitCommit:"9f88ccb6aee40b9a0535fcc7efea6055e1ef72c9", GitTreeState:"clean", GoVersion:"go1.19.2"}
MariaDB and WordPress need to write files to disk. We’re not going to go into storage concepts too much here, but as we have a single-node ephemeral (short-lived) Kubernetes instance on our hands, we’re just going to create a PersistentVolume on the local disk of the appliance:
Copy the following content into a new file pv.yaml:
apiVersion: v1
kind: PersistentVolume
metadata:
  name: pv-data-local-1
  labels:
    type: local
spec:
  storageClassName:
  capacity:
    storage: 20Gi
  accessModes:
    - ReadWriteOnce
  hostPath:
    path: "/tmp"
---
apiVersion: v1
kind: PersistentVolume
metadata:
  name: pv-data-local-2
  labels:
    type: local
spec:
  storageClassName:
  capacity:
    storage: 20Gi
  accessModes:
    - ReadWriteOnce
  hostPath:
    path: "/tmp"
Apply the manifest via kubectl apply -f pv.yaml:
$ kubectl apply -f pv.yaml
persistentvolume/pv-data-local-1 created
persistentvolume/pv-data-local-2 created
Now we are ready to follow the steps to install WordPress and MariaDB from Bitnami
helm repo add bitnami https://charts.bitnami.com/bitnami
helm install wordpress bitnami/wordpress
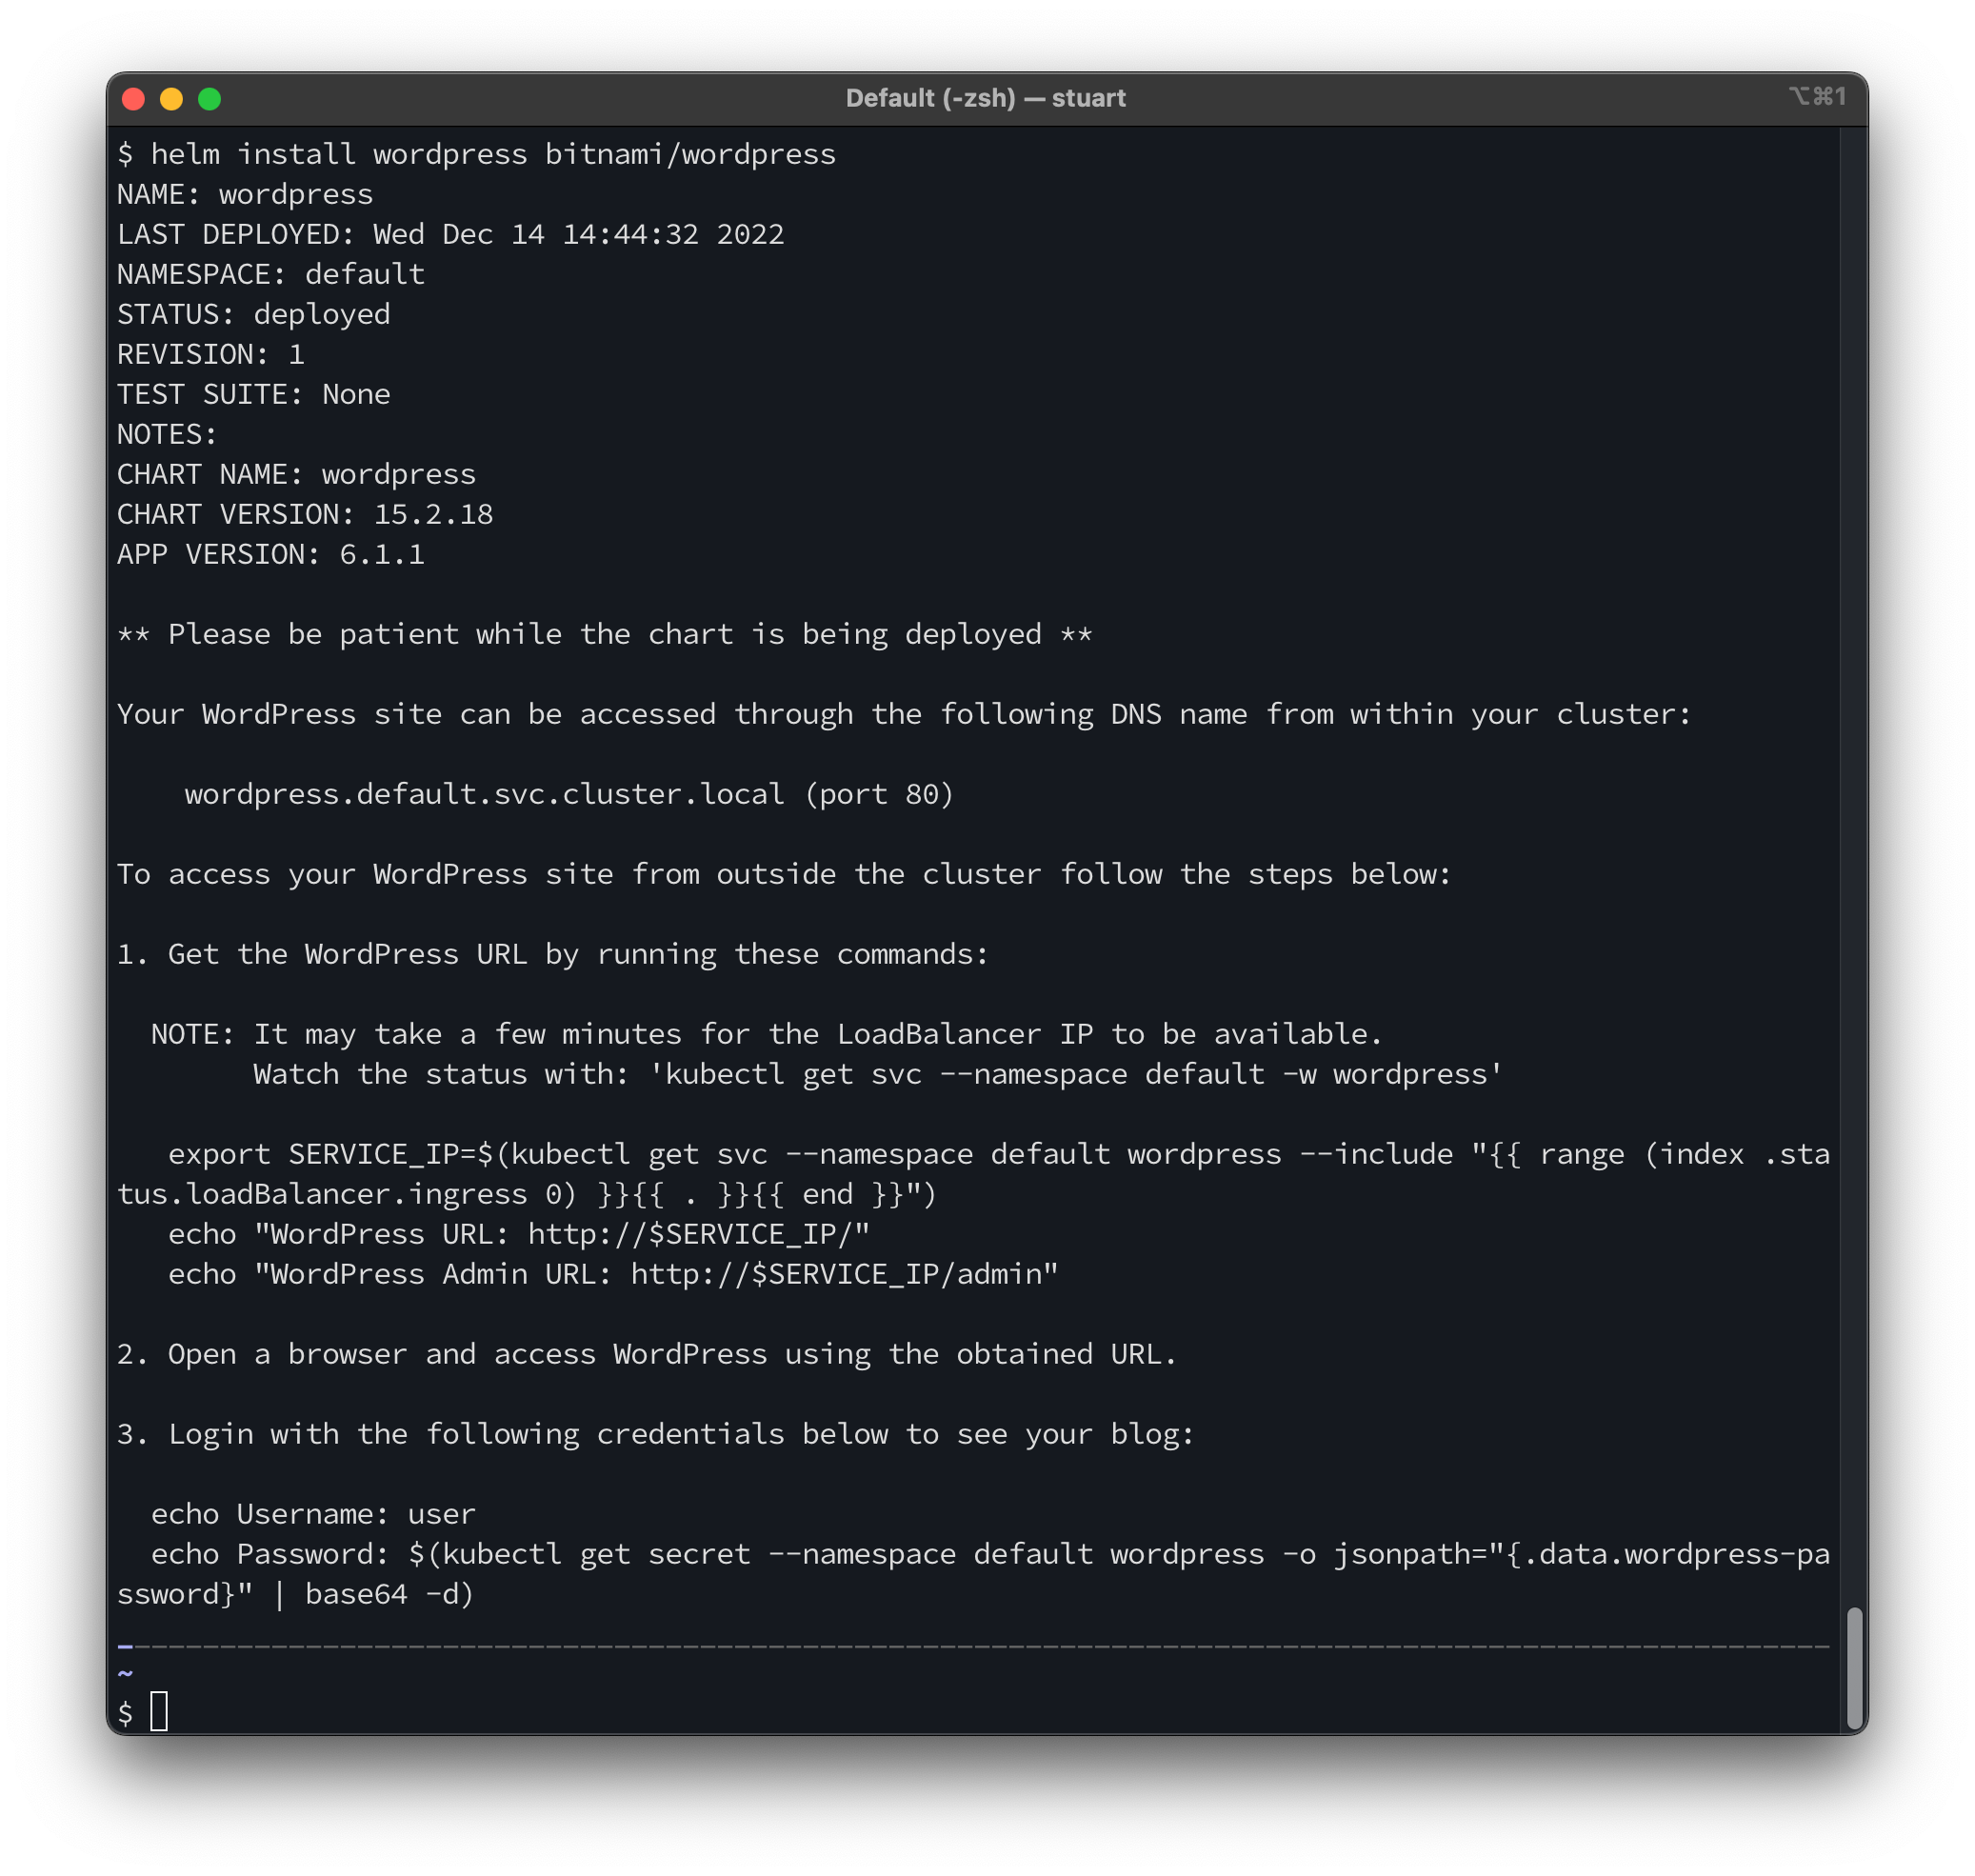
After a few moments, the pods will enter the running state and a service of type LoadBalancer will exist.
$ kubectl get pods
NAME READY STATUS RESTARTS AGE
wordpress-77fcc84f59-dx5fm 1/1 Running 0 4m45s
wordpress-mariadb-0 1/1 Running 0 4m45s
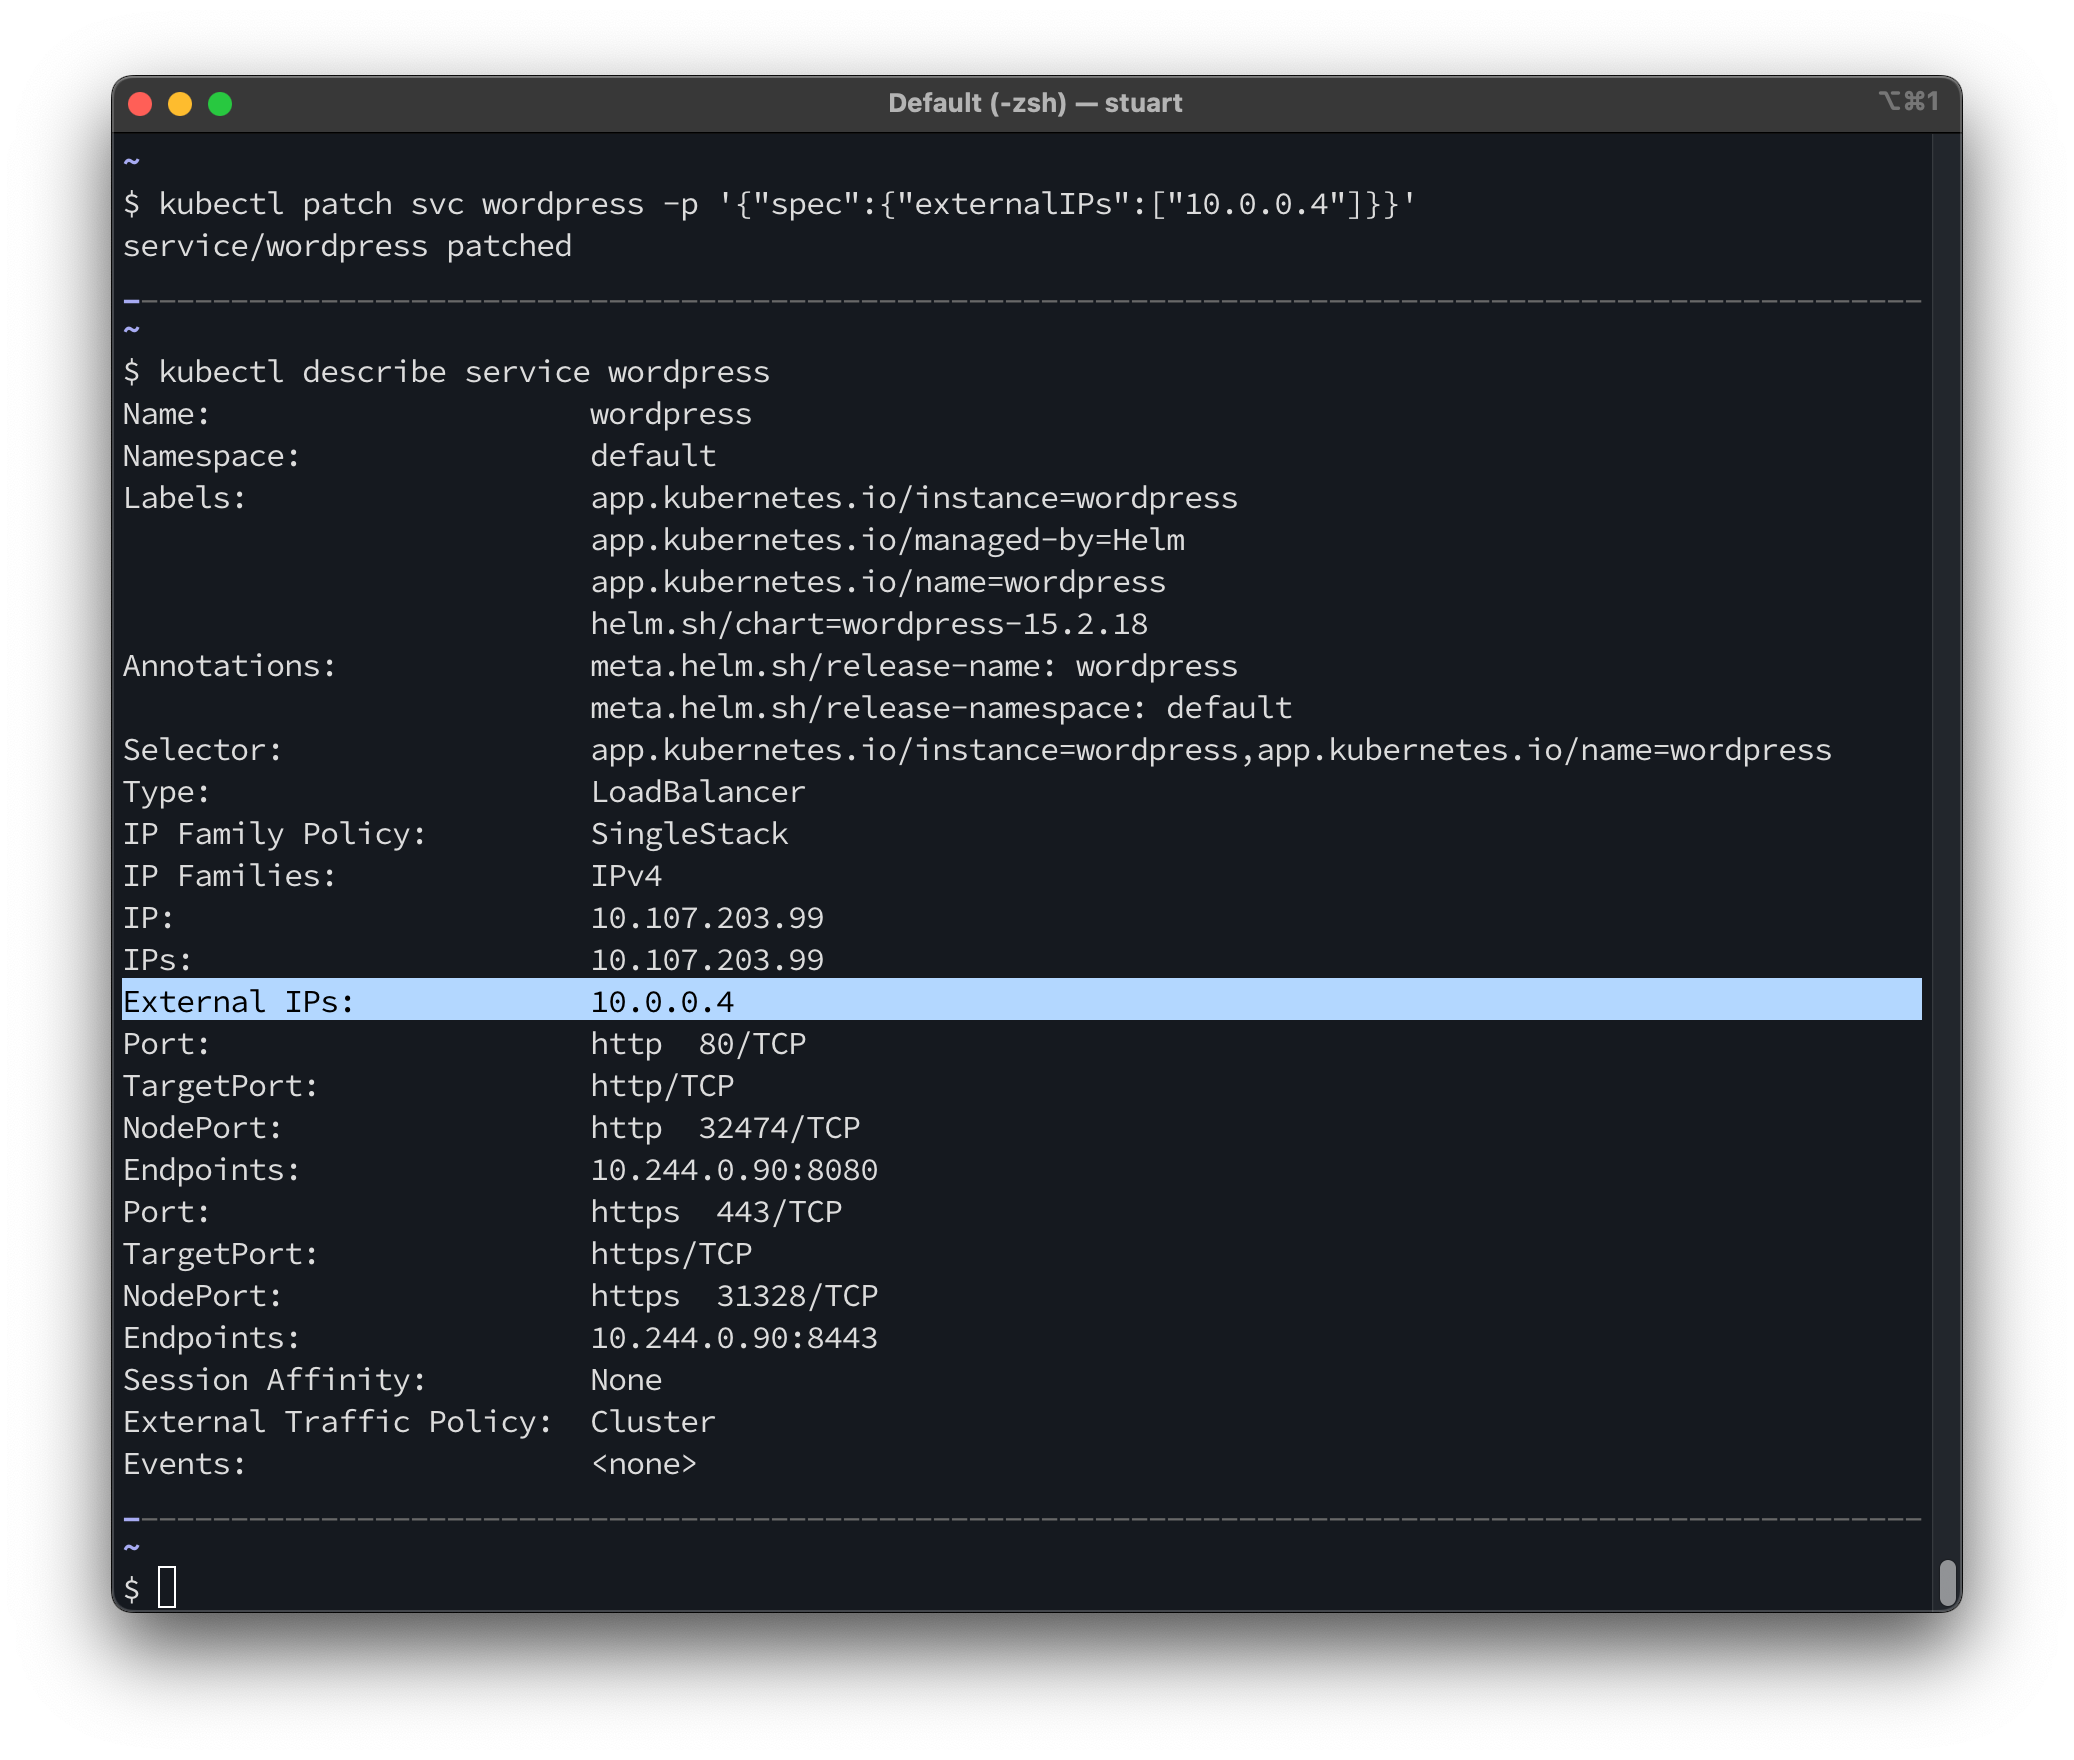
$ kubectl get svc wordpress
NAME TYPE CLUSTER-IP EXTERNAL-IP PORT(S) AGE
wordpress LoadBalancer 10.107.203.99 <pending> 80:32474/TCP,443:31328/TCP 4m57s
We now need to update this deployment so that we can access the service via the machine’s IP address. First we need to open up port 80 and 443 through the Azure Network Security Group (NSG) attached to the VM’s NIC. To do this, use the following commands:
az vm open-port --resource-group kubelift --name vm0 --port 80 --priority 2001
az vm open-port --resource-group kubelift --name vm0 --port 443 --priority 2002
There are many ways to enable ingress to your running pods (one notable secure option would be via a port-forward), but for simplicity here we can patch the LoadBalancer that has already been deployed with the internal IP address of the appliance. As Azure sends traffic on the external IP through to the internal NIC, this will have the effect of making the service available on the public IP address we saw earlier.
kubectl patch svc wordpress -p '{"spec":{"externalIPs":["10.0.0.4"]}}'
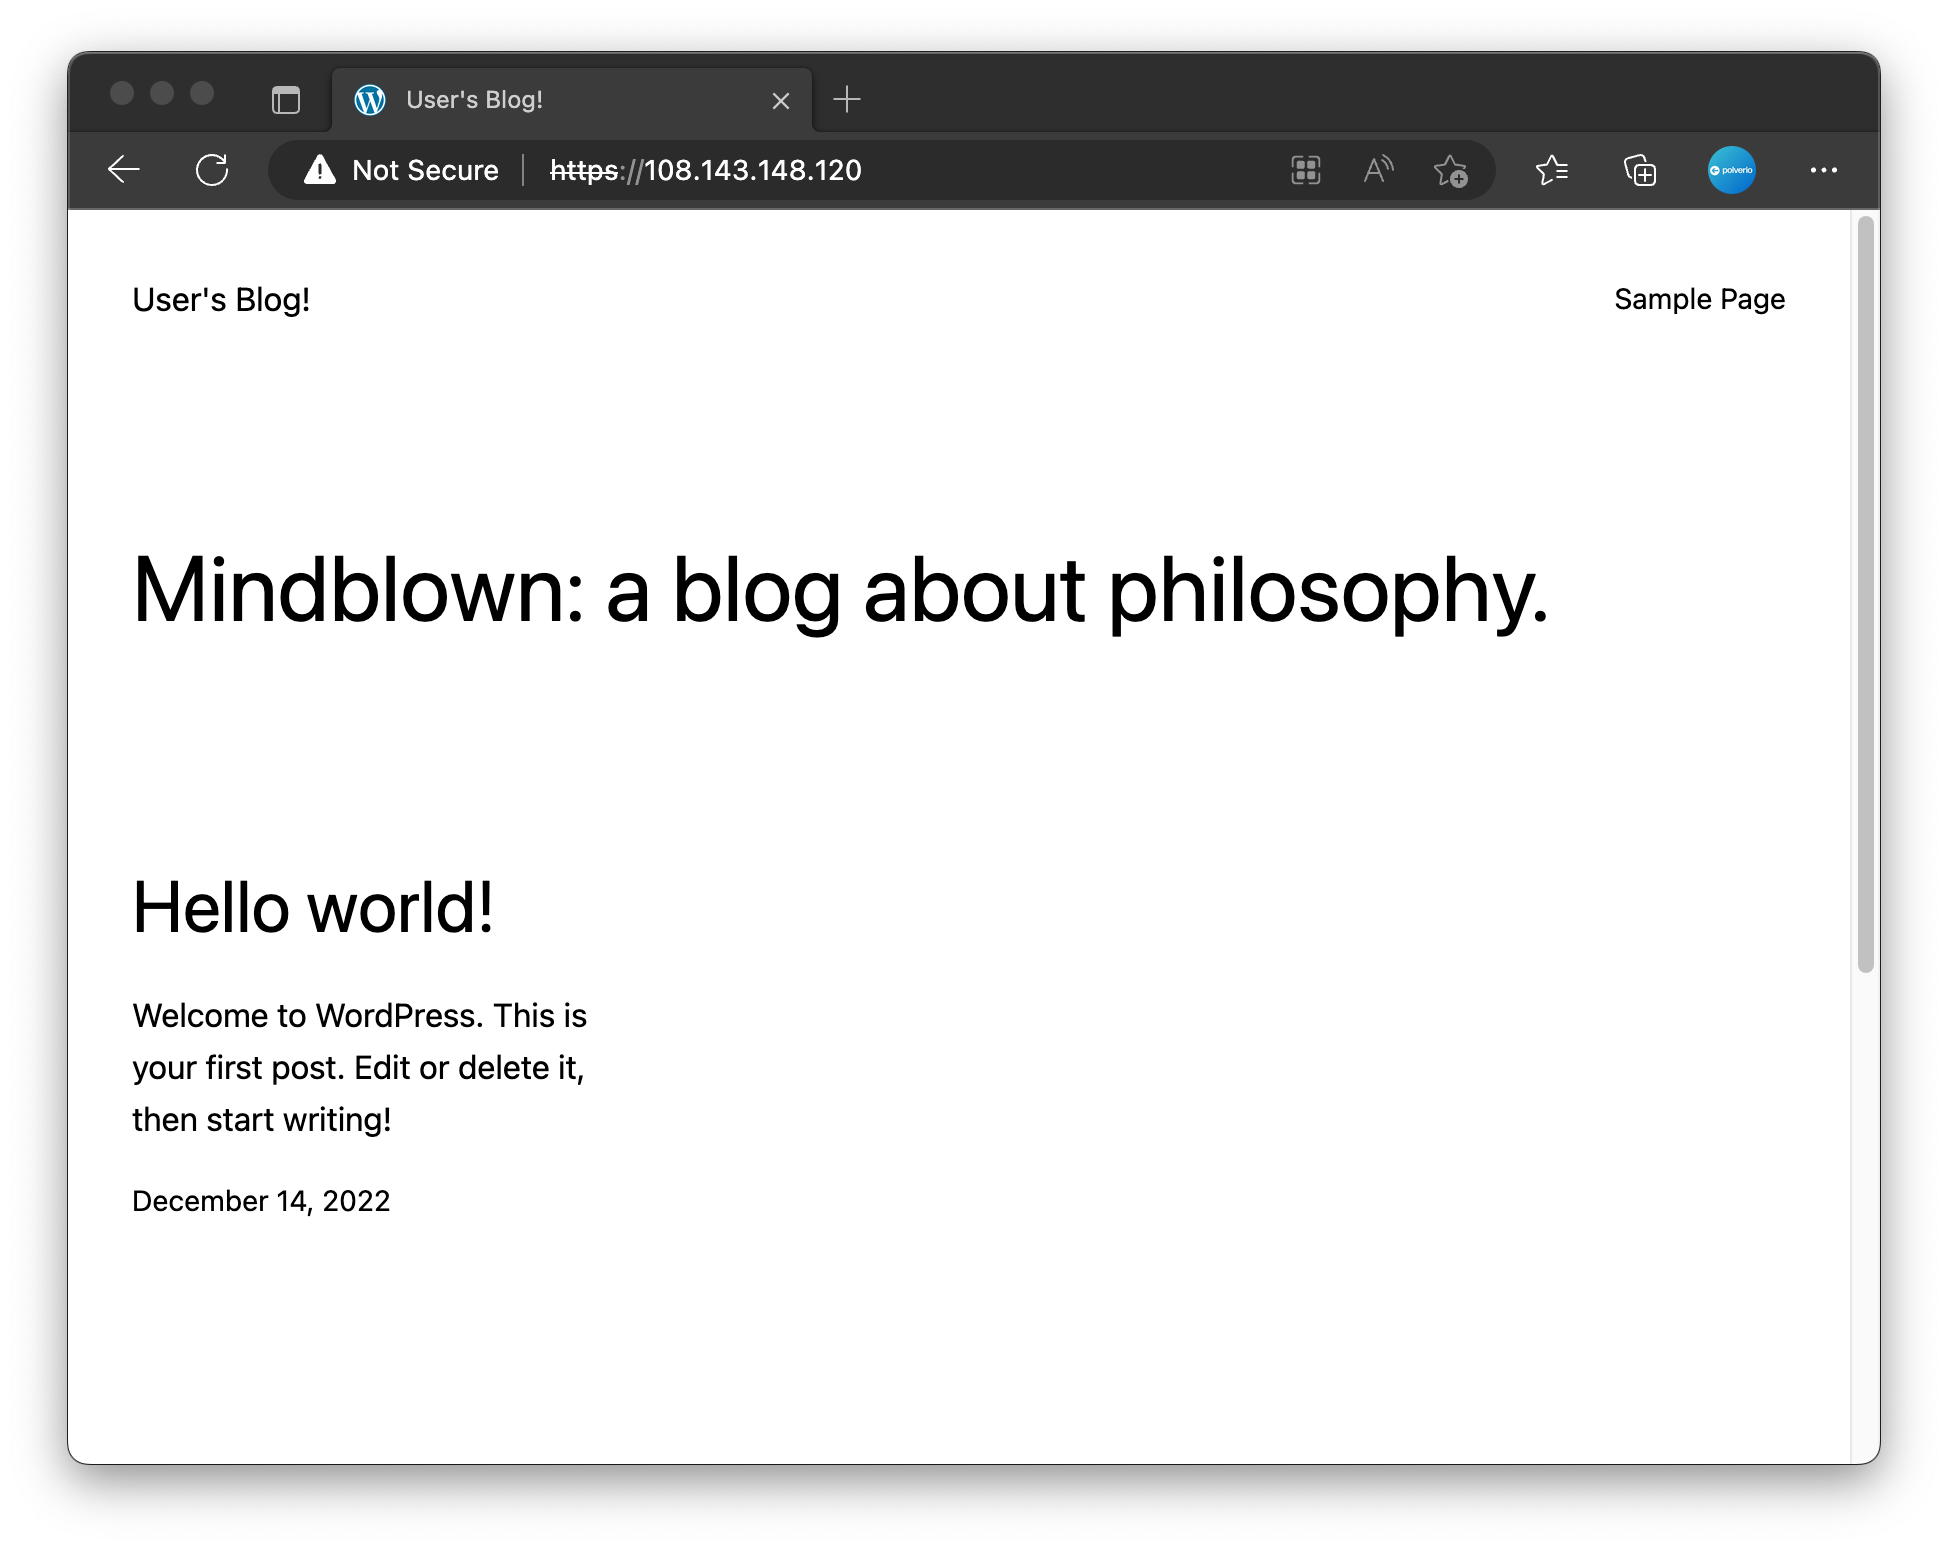
Testing web-based access to the appliance
You can now use the IP address of your appliance to connect via your web browser.
You can follow the instructions provided by the Helm output to continue playing with your WordPress installation. For example, to retrieve the password for your WordPress installation use the following command:
kubectl get secret --namespace default wordpress -o jsonpath="{.data.wordpress-password}" | base64 -d
Summary
In this tutorial we deployed WordPress and MariaDB onto our KubeLift appliance and exposed the service to be accessible over the internet for testing.
Next Steps
In the next tutorial we will take advantage of the eBPF features of our KubeLift Solo appliance and use Cilium Hubble to monitor traffic:

