KubeLift getting started (Part 3): Observing ingress and pod-to-pod traffic with Cilium Hubble
Posted in Tutorials on December 14, 2022 by Stuart Preston ‐ 4 min read
This is the third and final part of a three-part series to help you get started using KubeLift on the Azure platform. We love contrived examples of deploying workload on Kubernetes around here, so let’s walk through a complete scenario with KubeLift, WordPress and MariaDB deployed by Helm and an example of observing ingress and pod networking traffic using Cilium’s Hubble tooling.
- Part 1: Launching KubeLift Solo via the Azure CLI ✨
- Part 2: Installing WordPress and Maria DB via Helm.sh 🌍
- Part 3: Observing ingress and pod-to-pod traffic using Cilium Hubble 🚀 *** YOU ARE HERE ***
Prerequisites:
- Cilium CLI
- Cilium Hubble CLI
- Completed the steps in Part 1 and Part 2 of this series:
If you are using a Mac, both prerequisites are available using Homebrew:
brew install cilium-cli
brew install hubble
Since KubeLift uses an eBPF-enabled CBL-Mariner 2.0 Linux optimized for the Microsoft Azure environment, we can take advantage of this and use KubeLift to demonstrate some of the features of Cilium and sub-projects such as Hubble, that is “a fully distributed networking and security observability platform. It is built on top of Cilium and eBPF to enable deep visibility into the communication and behavior of services as well as the networking infrastructure in a completely transparent manner. "
Configuring KubeLift for Hubble
Ensure that you are using the correct kubeconfig using kubectl cluster-info:
$ kubectl cluster-info
Kubernetes control plane is running at https://108.143.148.120:6443
CoreDNS is running at https://108.143.148.120:6443/api/v1/namespaces/kube-system/services/kube-dns:dns/proxy
To enable Hubble on your KubeLift Solo appliance, enter the following commands. (note the need to run cilium hubble disable first should go away in a future release!
cilium hubble disable
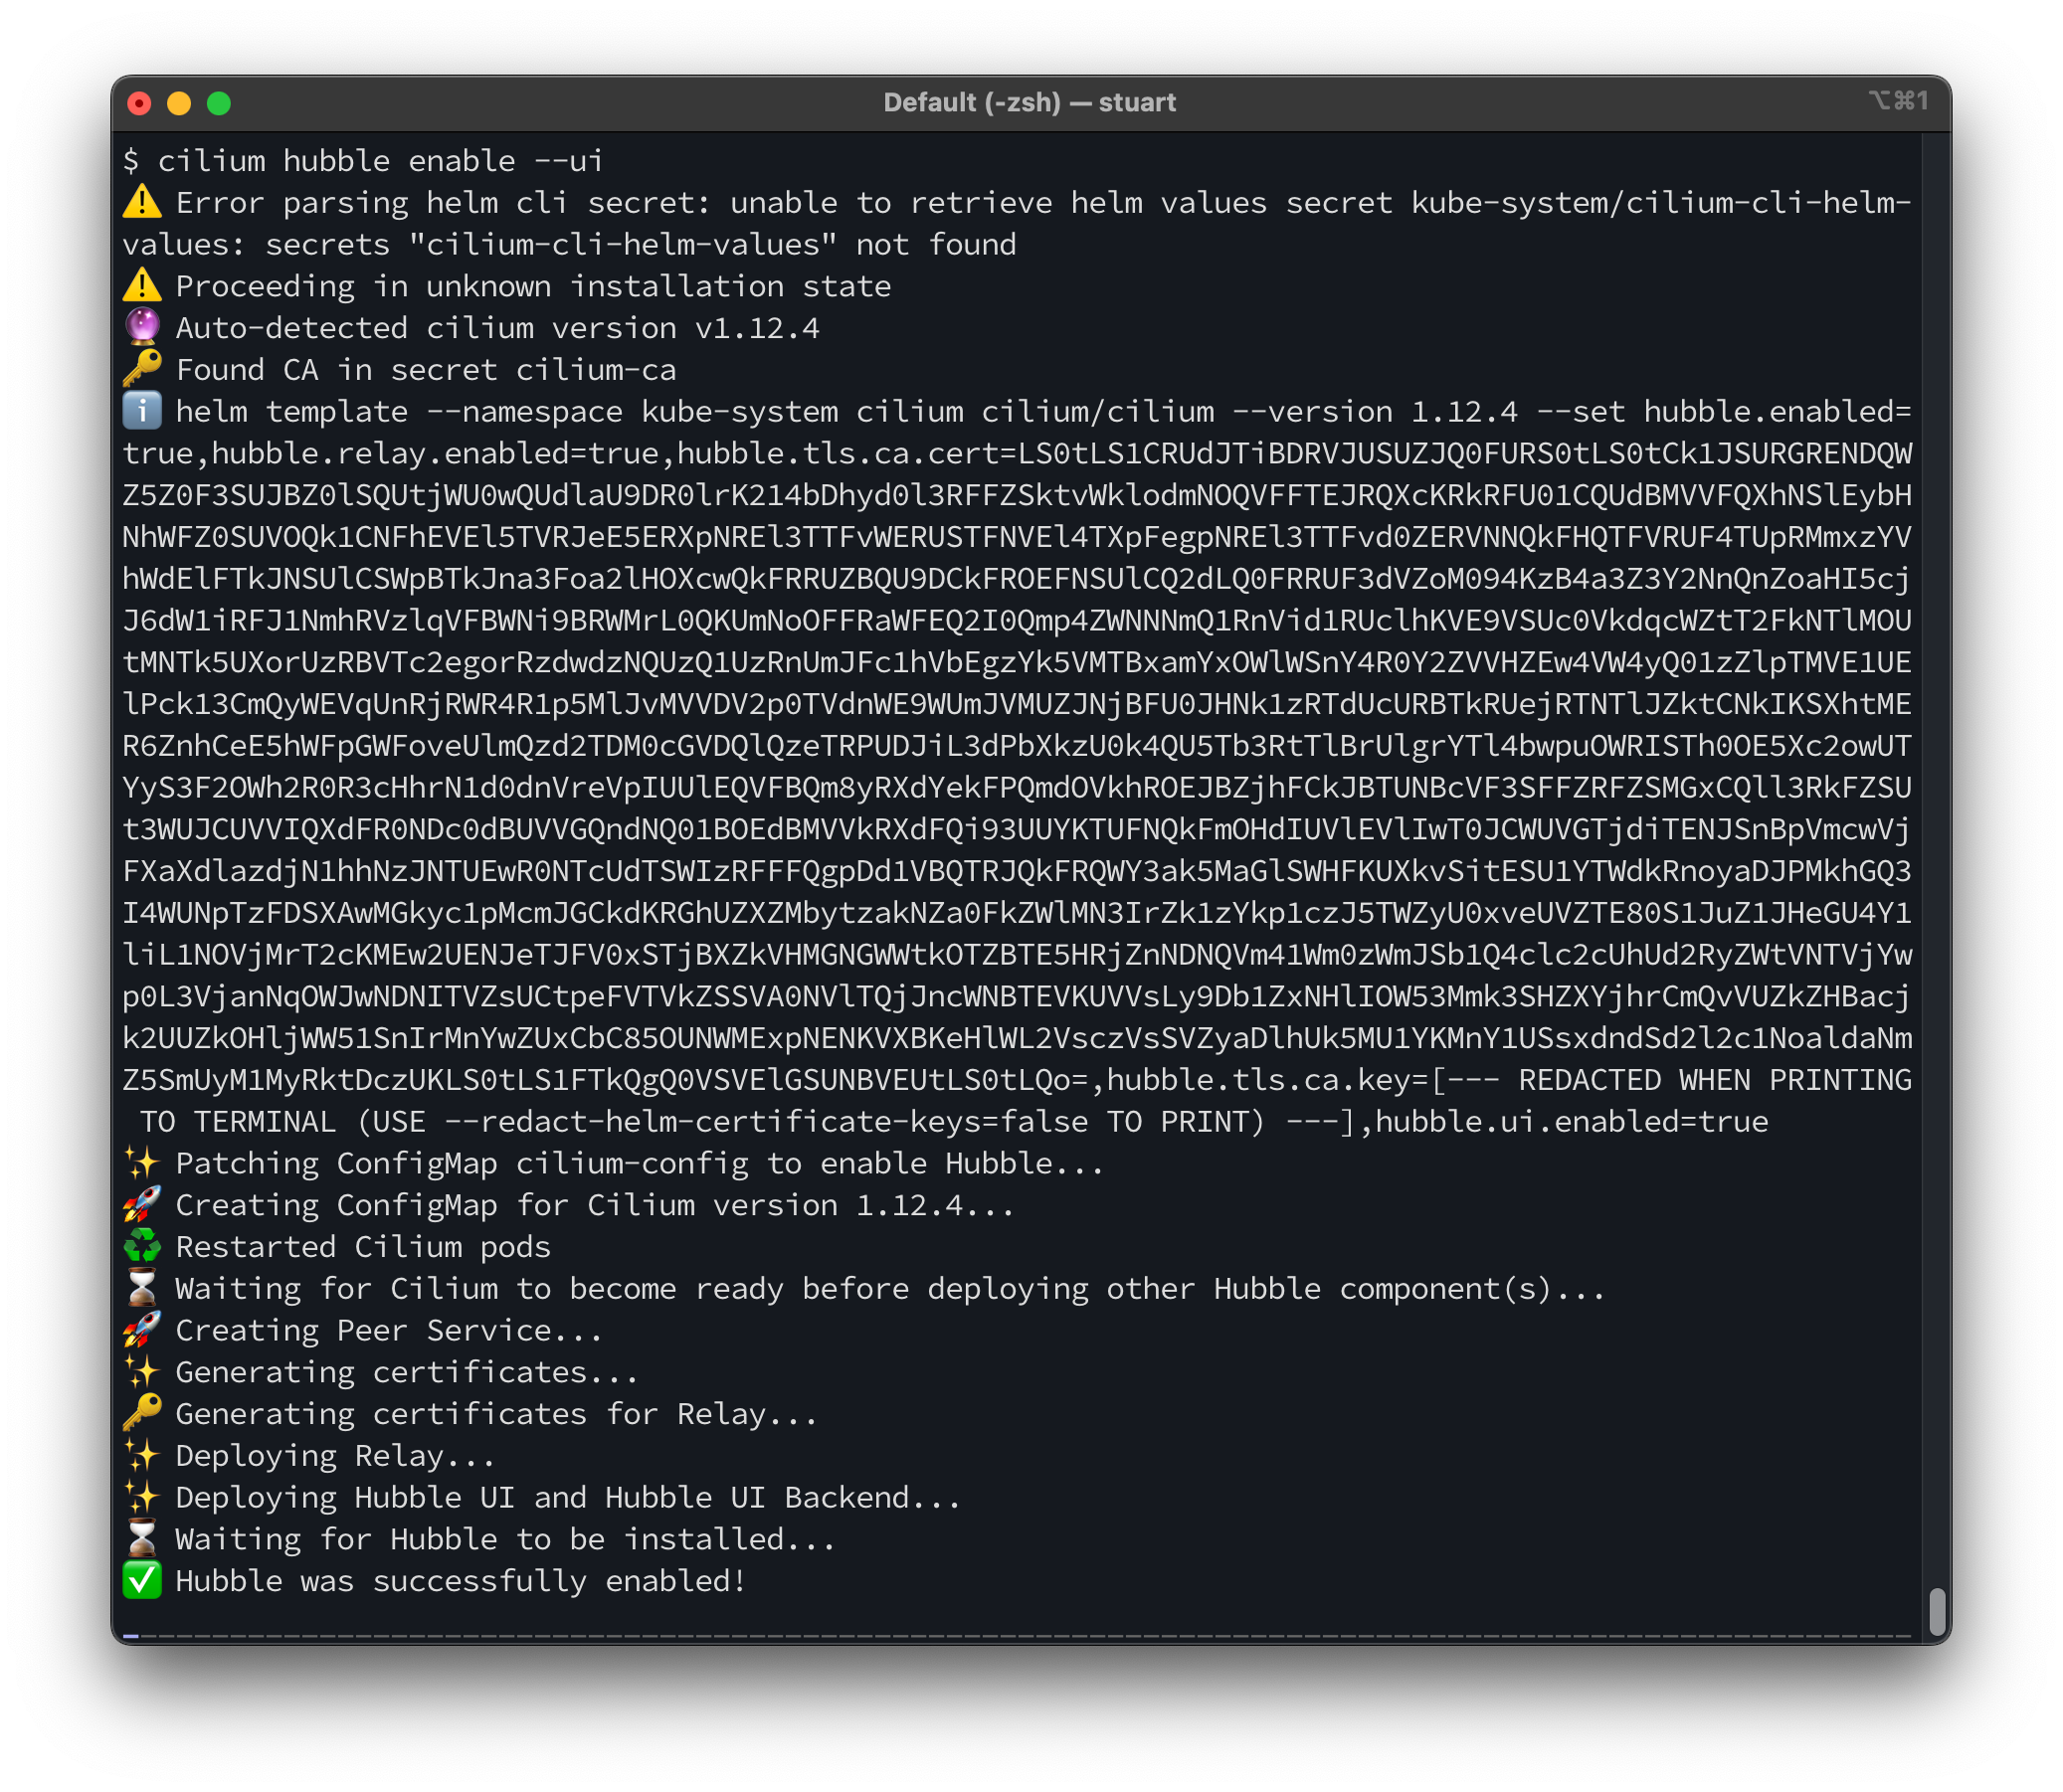
cilium hubble enable --ui
Run cilium status to validate that Hubble is enabled and running:
$ cilium status
    /¯¯\
 /¯¯\__/¯¯\    Cilium:         OK
 \__/¯¯\__/    Operator:       OK
 /¯¯\__/¯¯\    Hubble:         OK
 \__/¯¯\__/    ClusterMesh:    disabled
    \__/

Deployment        hubble-relay       Desired: 1, Ready: 1/1, Available: 1/1
Deployment        cilium-operator    Desired: 1, Ready: 1/1, Available: 1/1
DaemonSet         cilium             Desired: 1, Ready: 1/1, Available: 1/1
Deployment        hubble-ui          Desired: 1, Ready: 1/1, Available: 1/1
Containers:       hubble-relay       Running: 1
                  cilium-operator    Running: 1
                  cilium             Running: 1
                  hubble-ui          Running: 1
Now we can create a port-forward to allow access to the Hubble API via the Hubble Relay service in our cluster:
cilium hubble port-forward&
You can validate that the port-forward is working correctly using the hubble status command:
$ hubble status
Healthcheck (via localhost:4245): Ok
Current/Max Flows: 3,241/4,095 (79.15%)
Flows/s: 6.89
Connected Nodes: 1/1
Testing the connection
At this point, we can use either the CLI (via hubble observe) or have a look at the service map using a much richer UI:
$ cilium hubble ui
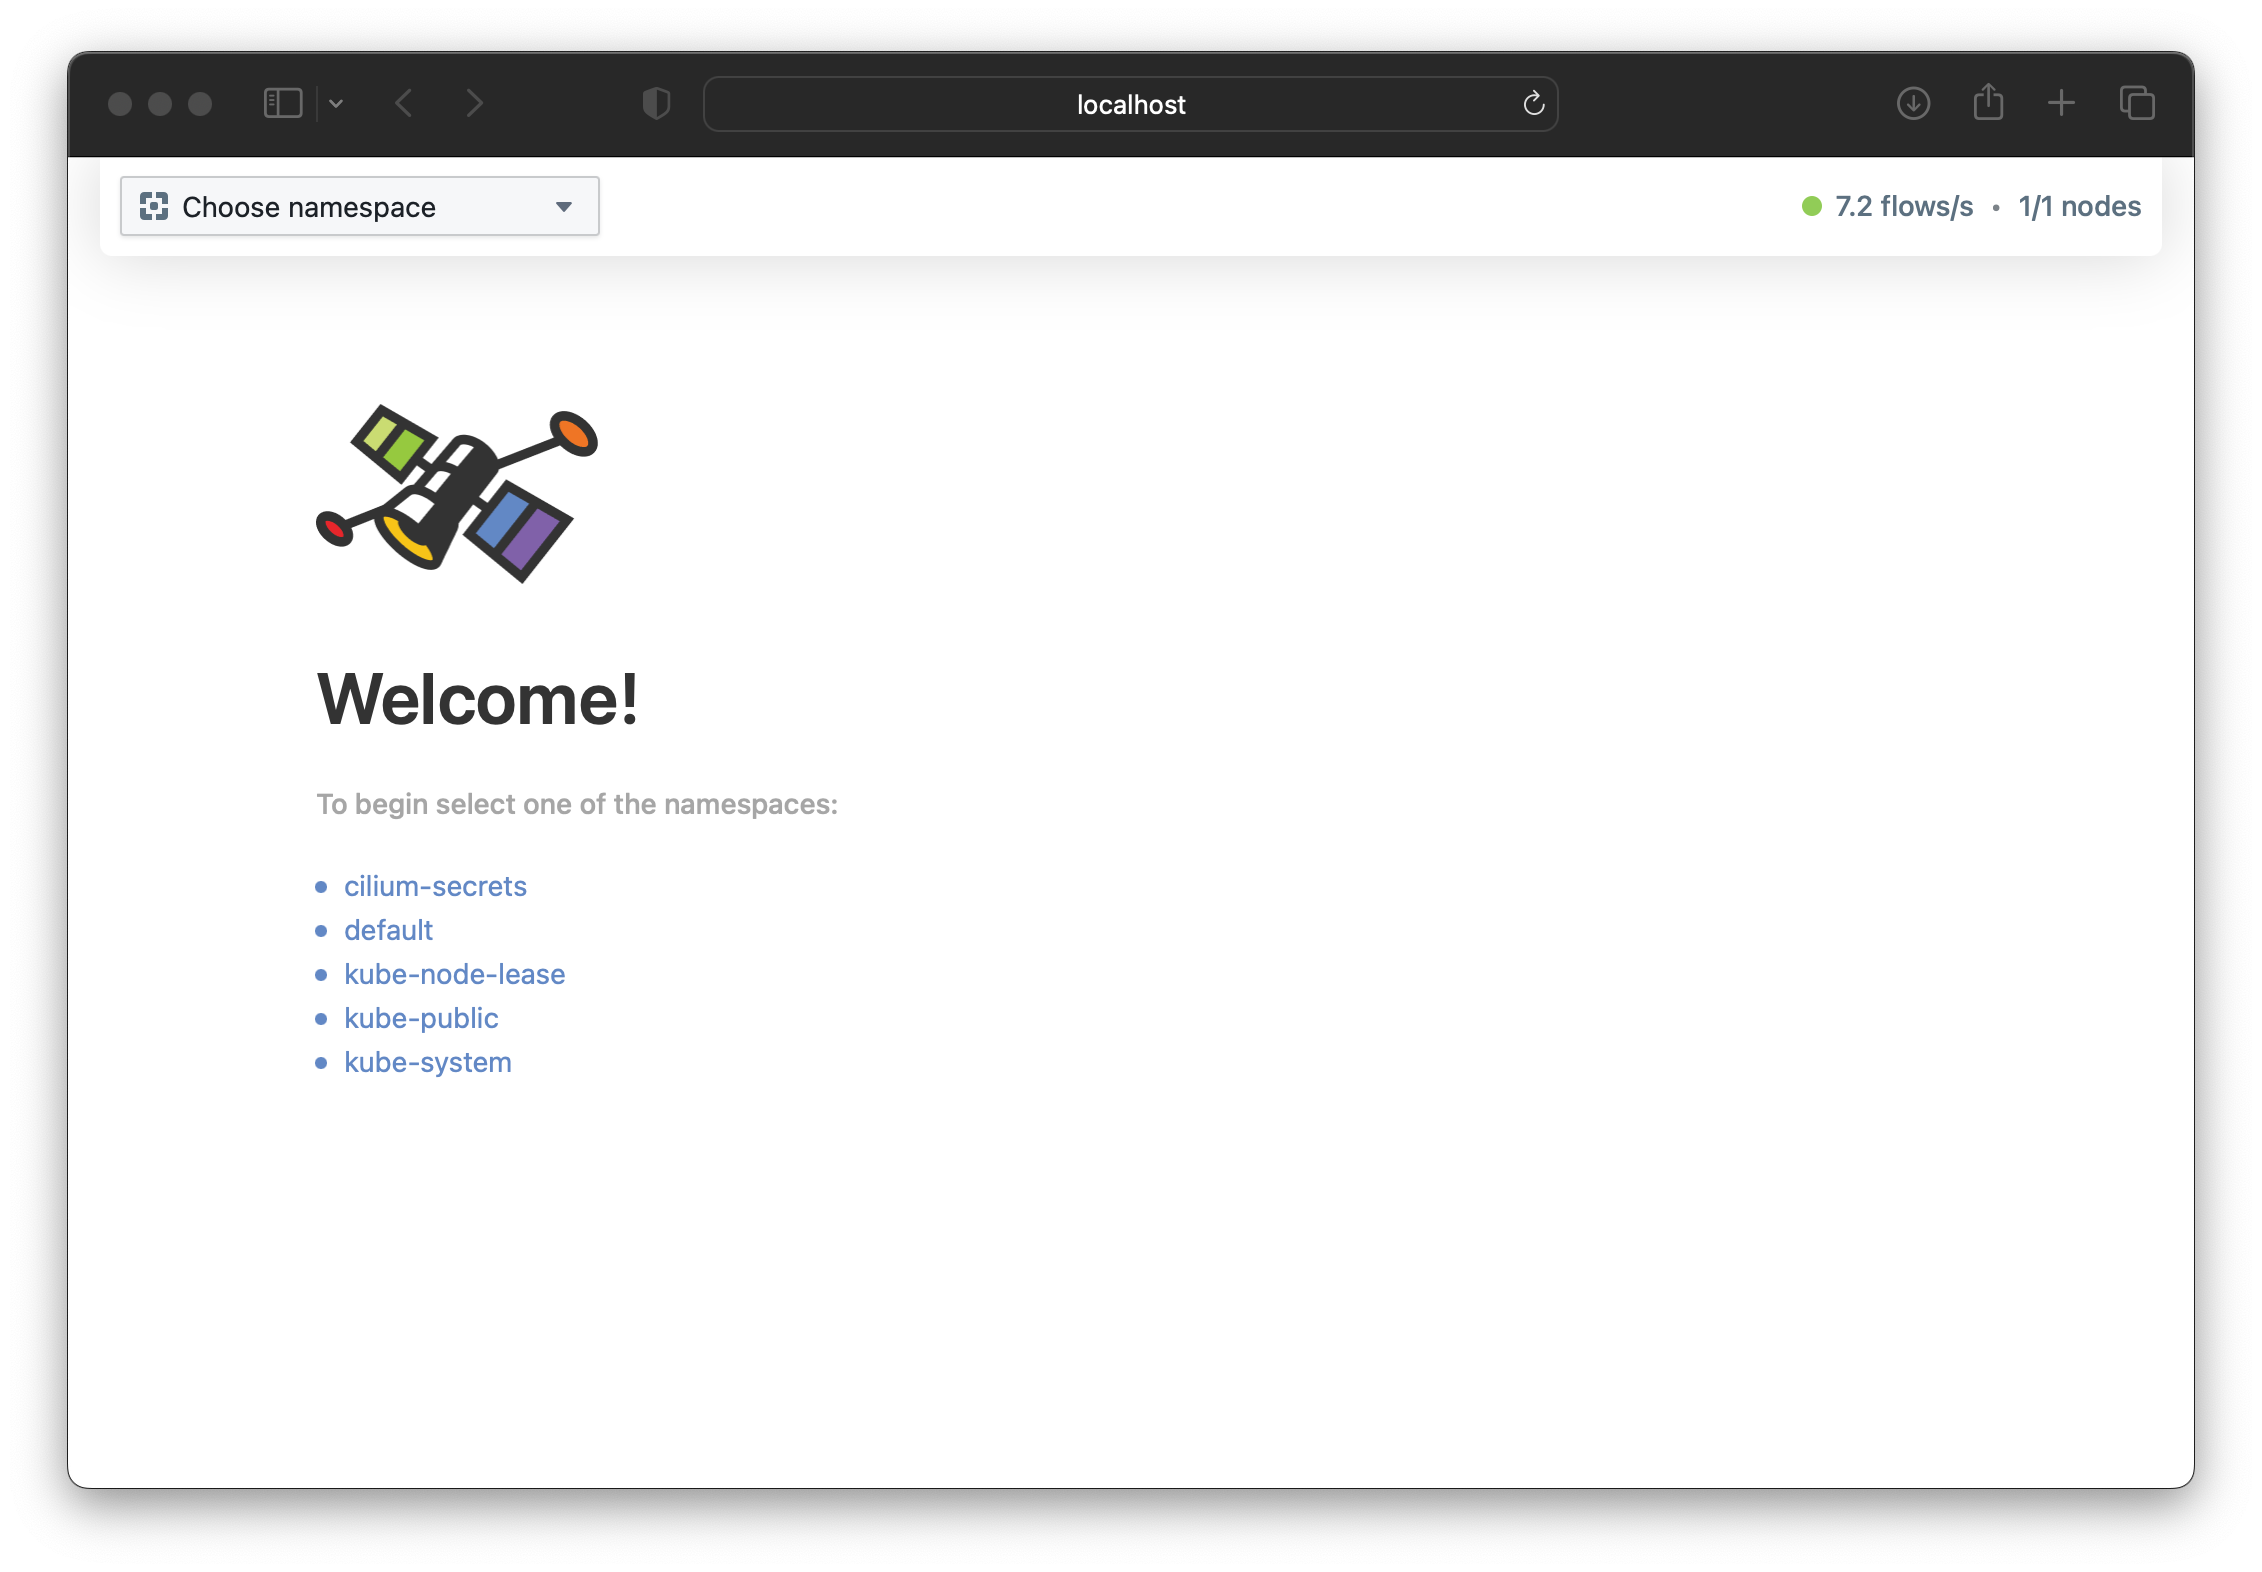
ℹ️ Opening "http://localhost:12000" in your browser...
The Hubble welcome screen will be shown:
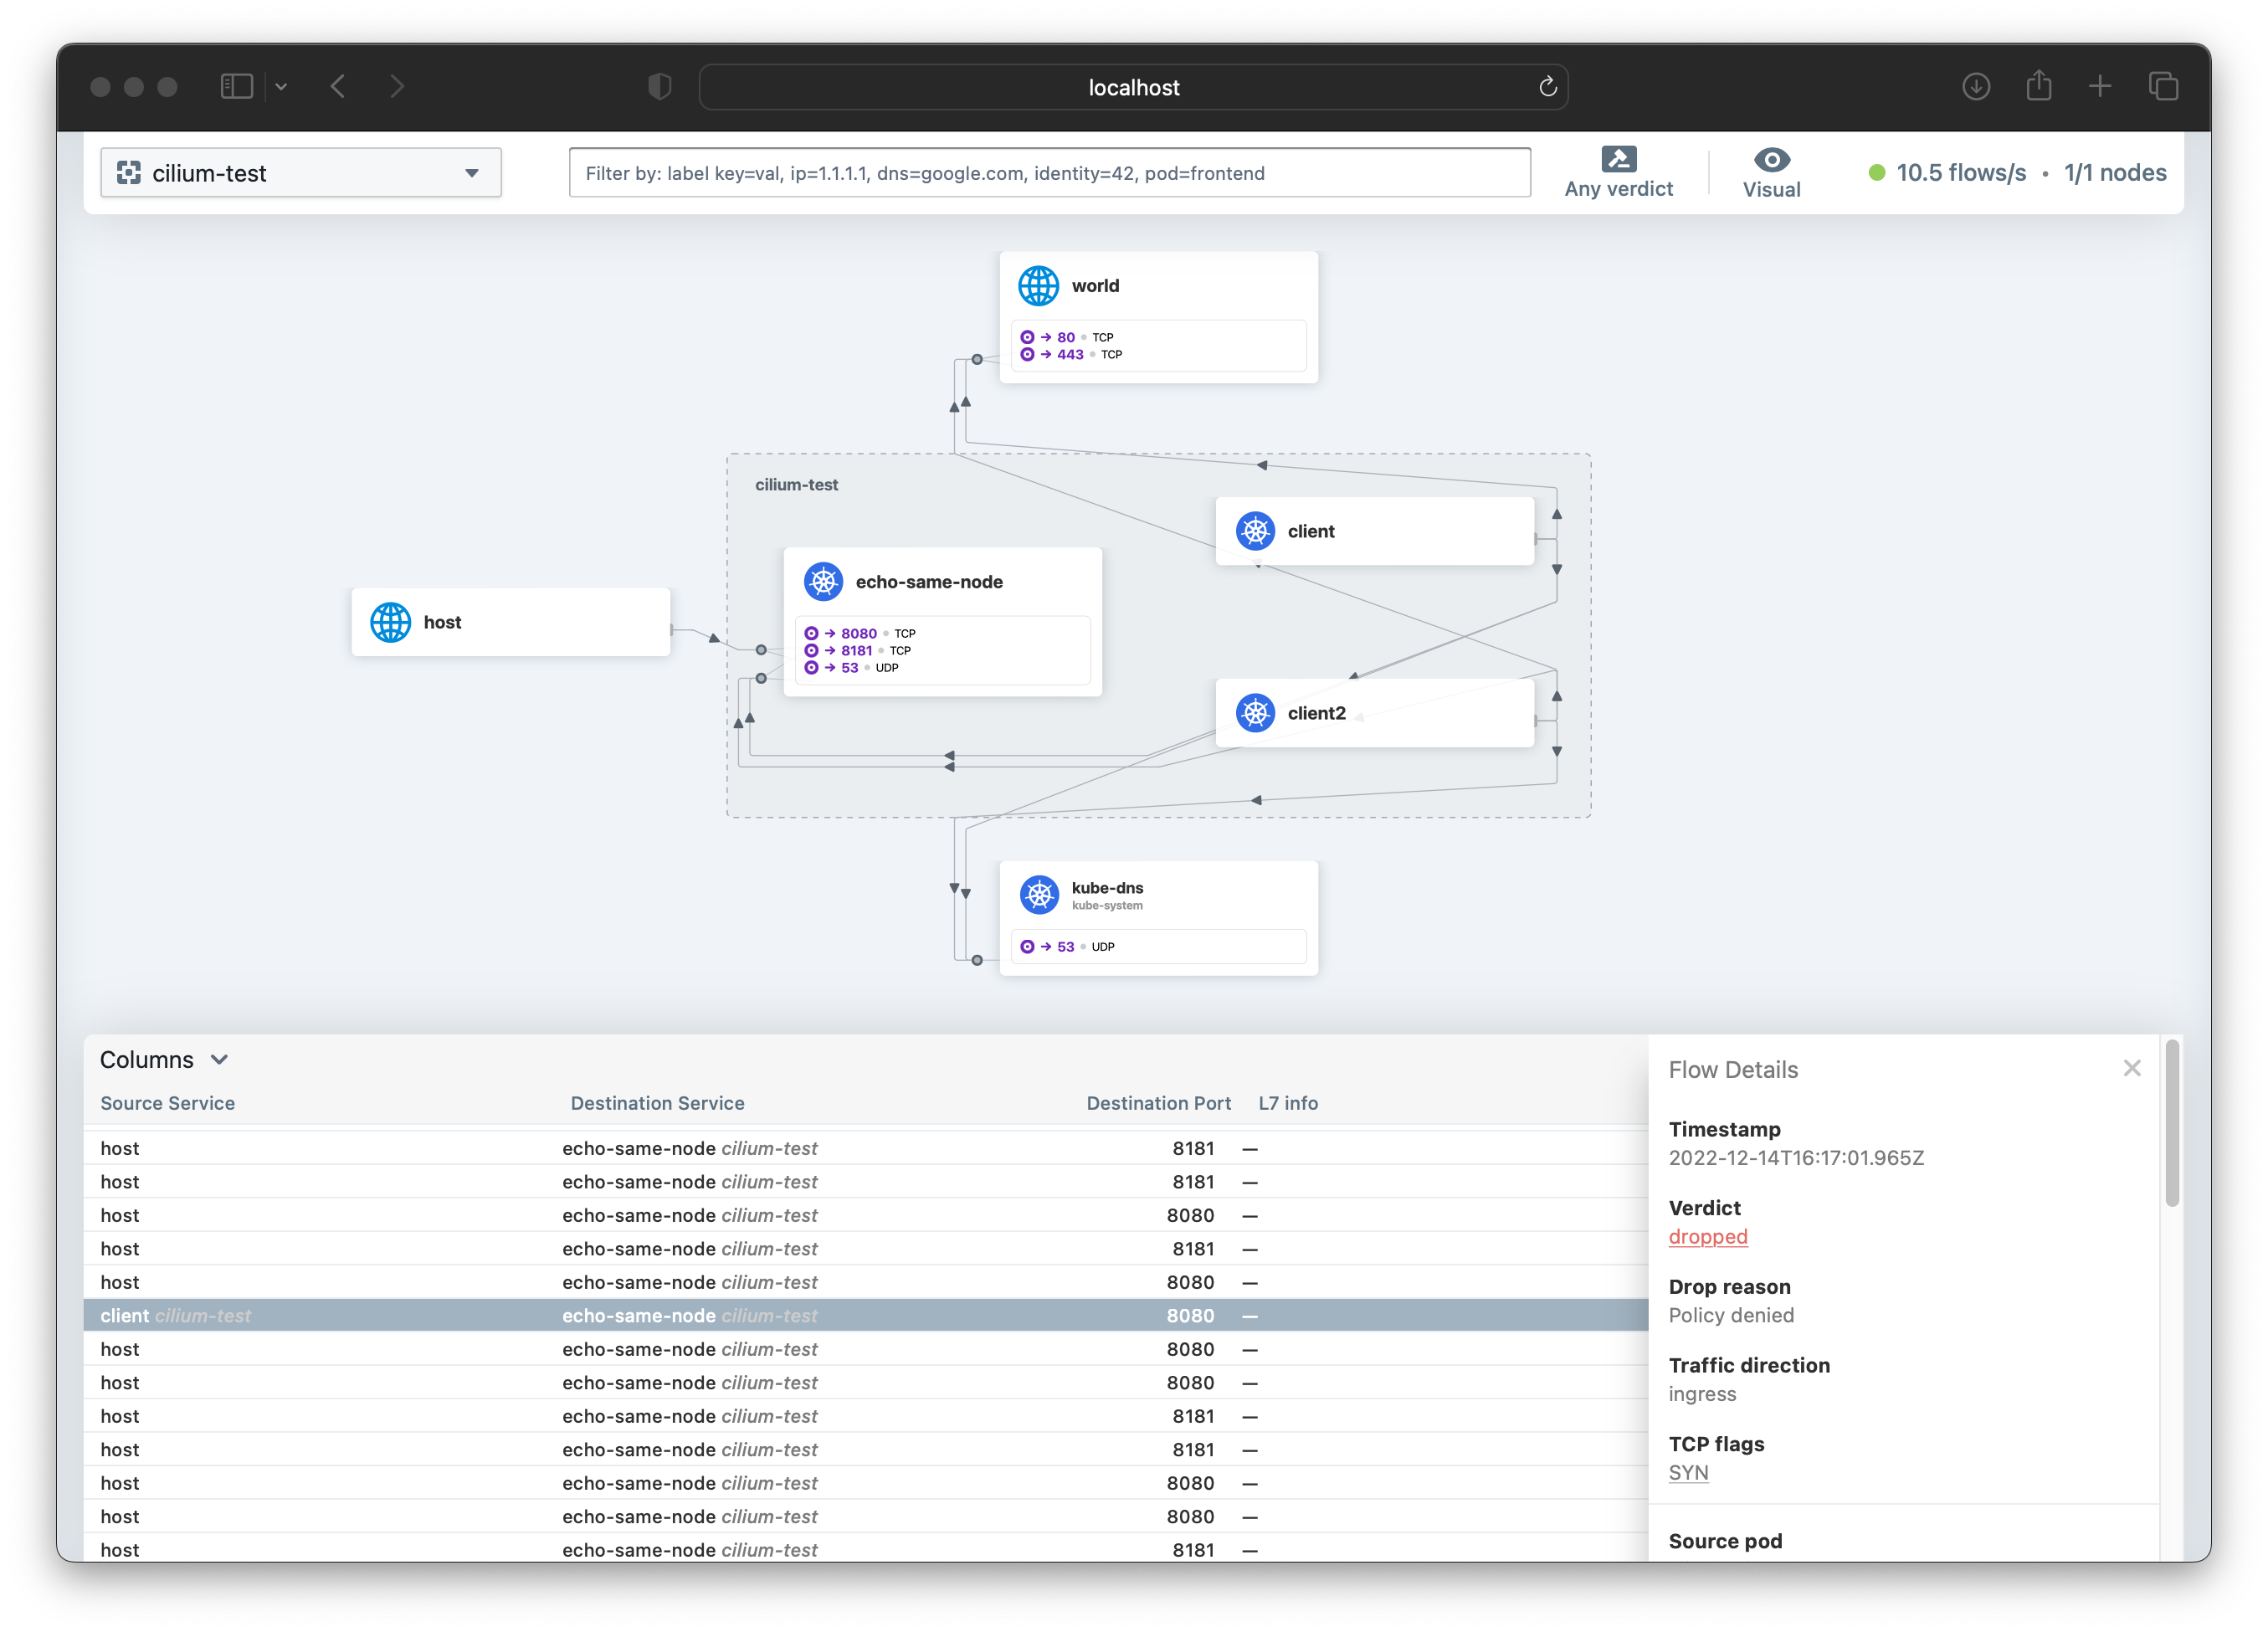
To start we can have a look at the default namespace where our WordPress and MariaDB pods are still running:
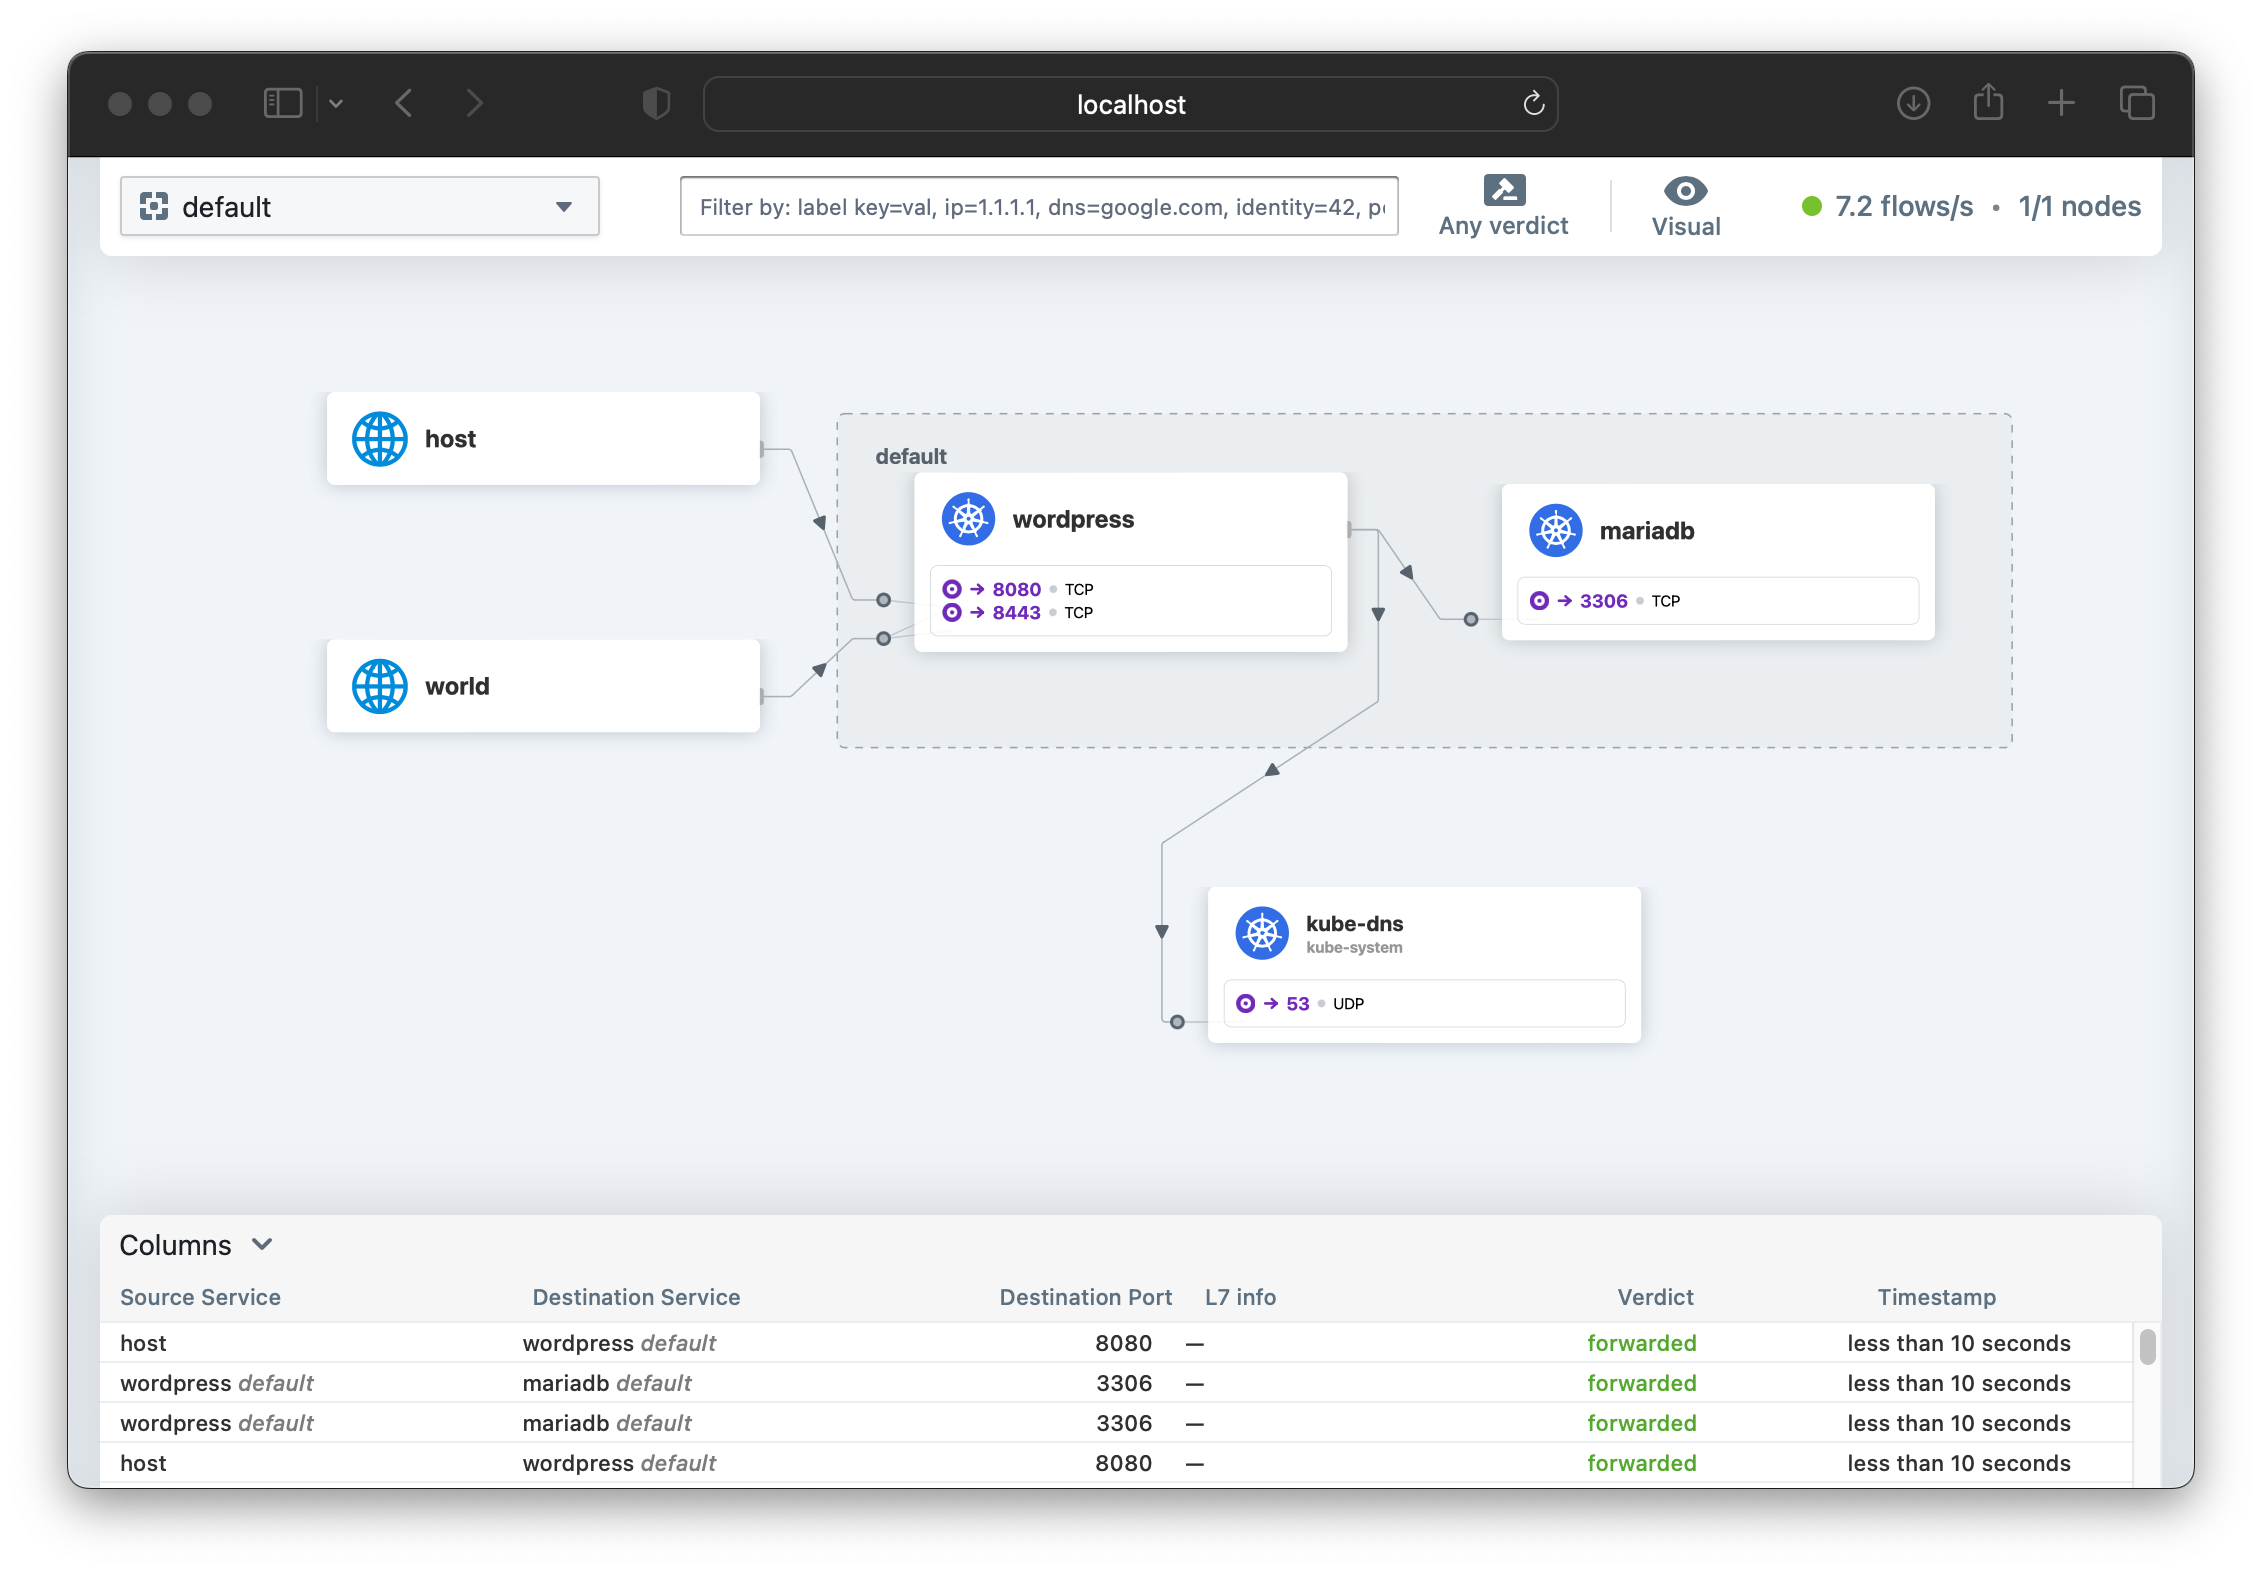
At the bottom of the screen is a running view of the connections being made, along with their policy “Verdict” (e.g. ‘forwarded’, ‘dropped’). By clicking each row, you can get further detail about the traffic flow and policy.
The Cilium documentation for Hubble recommends running a cilium connectivity test in order to generate traffic if you want to start to understand the tool.
I have not seen a clearer visialization of the running traffic inside a Kubernetes cluster, and it’s clear that with this tool many questions can be answered. It’s also an excellent gateway drug to developing Network Policies!
The Cilium Getting Started guides are an excellent place for further reading about Network Observability and Hubble!
Conclusion/Shutting Down
Now that we’re finished with our Getting Started guide, you can either continue exploring or to delete the KubeLift Solo instance, simply delete the Azure Resource Group containing the appliance:
az group delete -n kubelift --no-wait
The Azure resources will be deleted in the background.
That concludes this series on Getting Started with KubeLift. We hope we showed you how quickly and easily you can get up and running with the latest Kubernetes using KubeLift.
Happy KubeLifting!

